We are a crafting family. I love nothing more than getting the kids together in our kitchen, grabbing some glue and creating a masterpiece. This Halloween, I wanted to make a craft that I could actually display in my home for the entire Fall season. It all started with a balloon, a ball of yarn and a bowl of glue. Keep reading to find out how to create your own yarn pumpkin. You can also click here watch me make this craft on CN2 Today!
Materials:
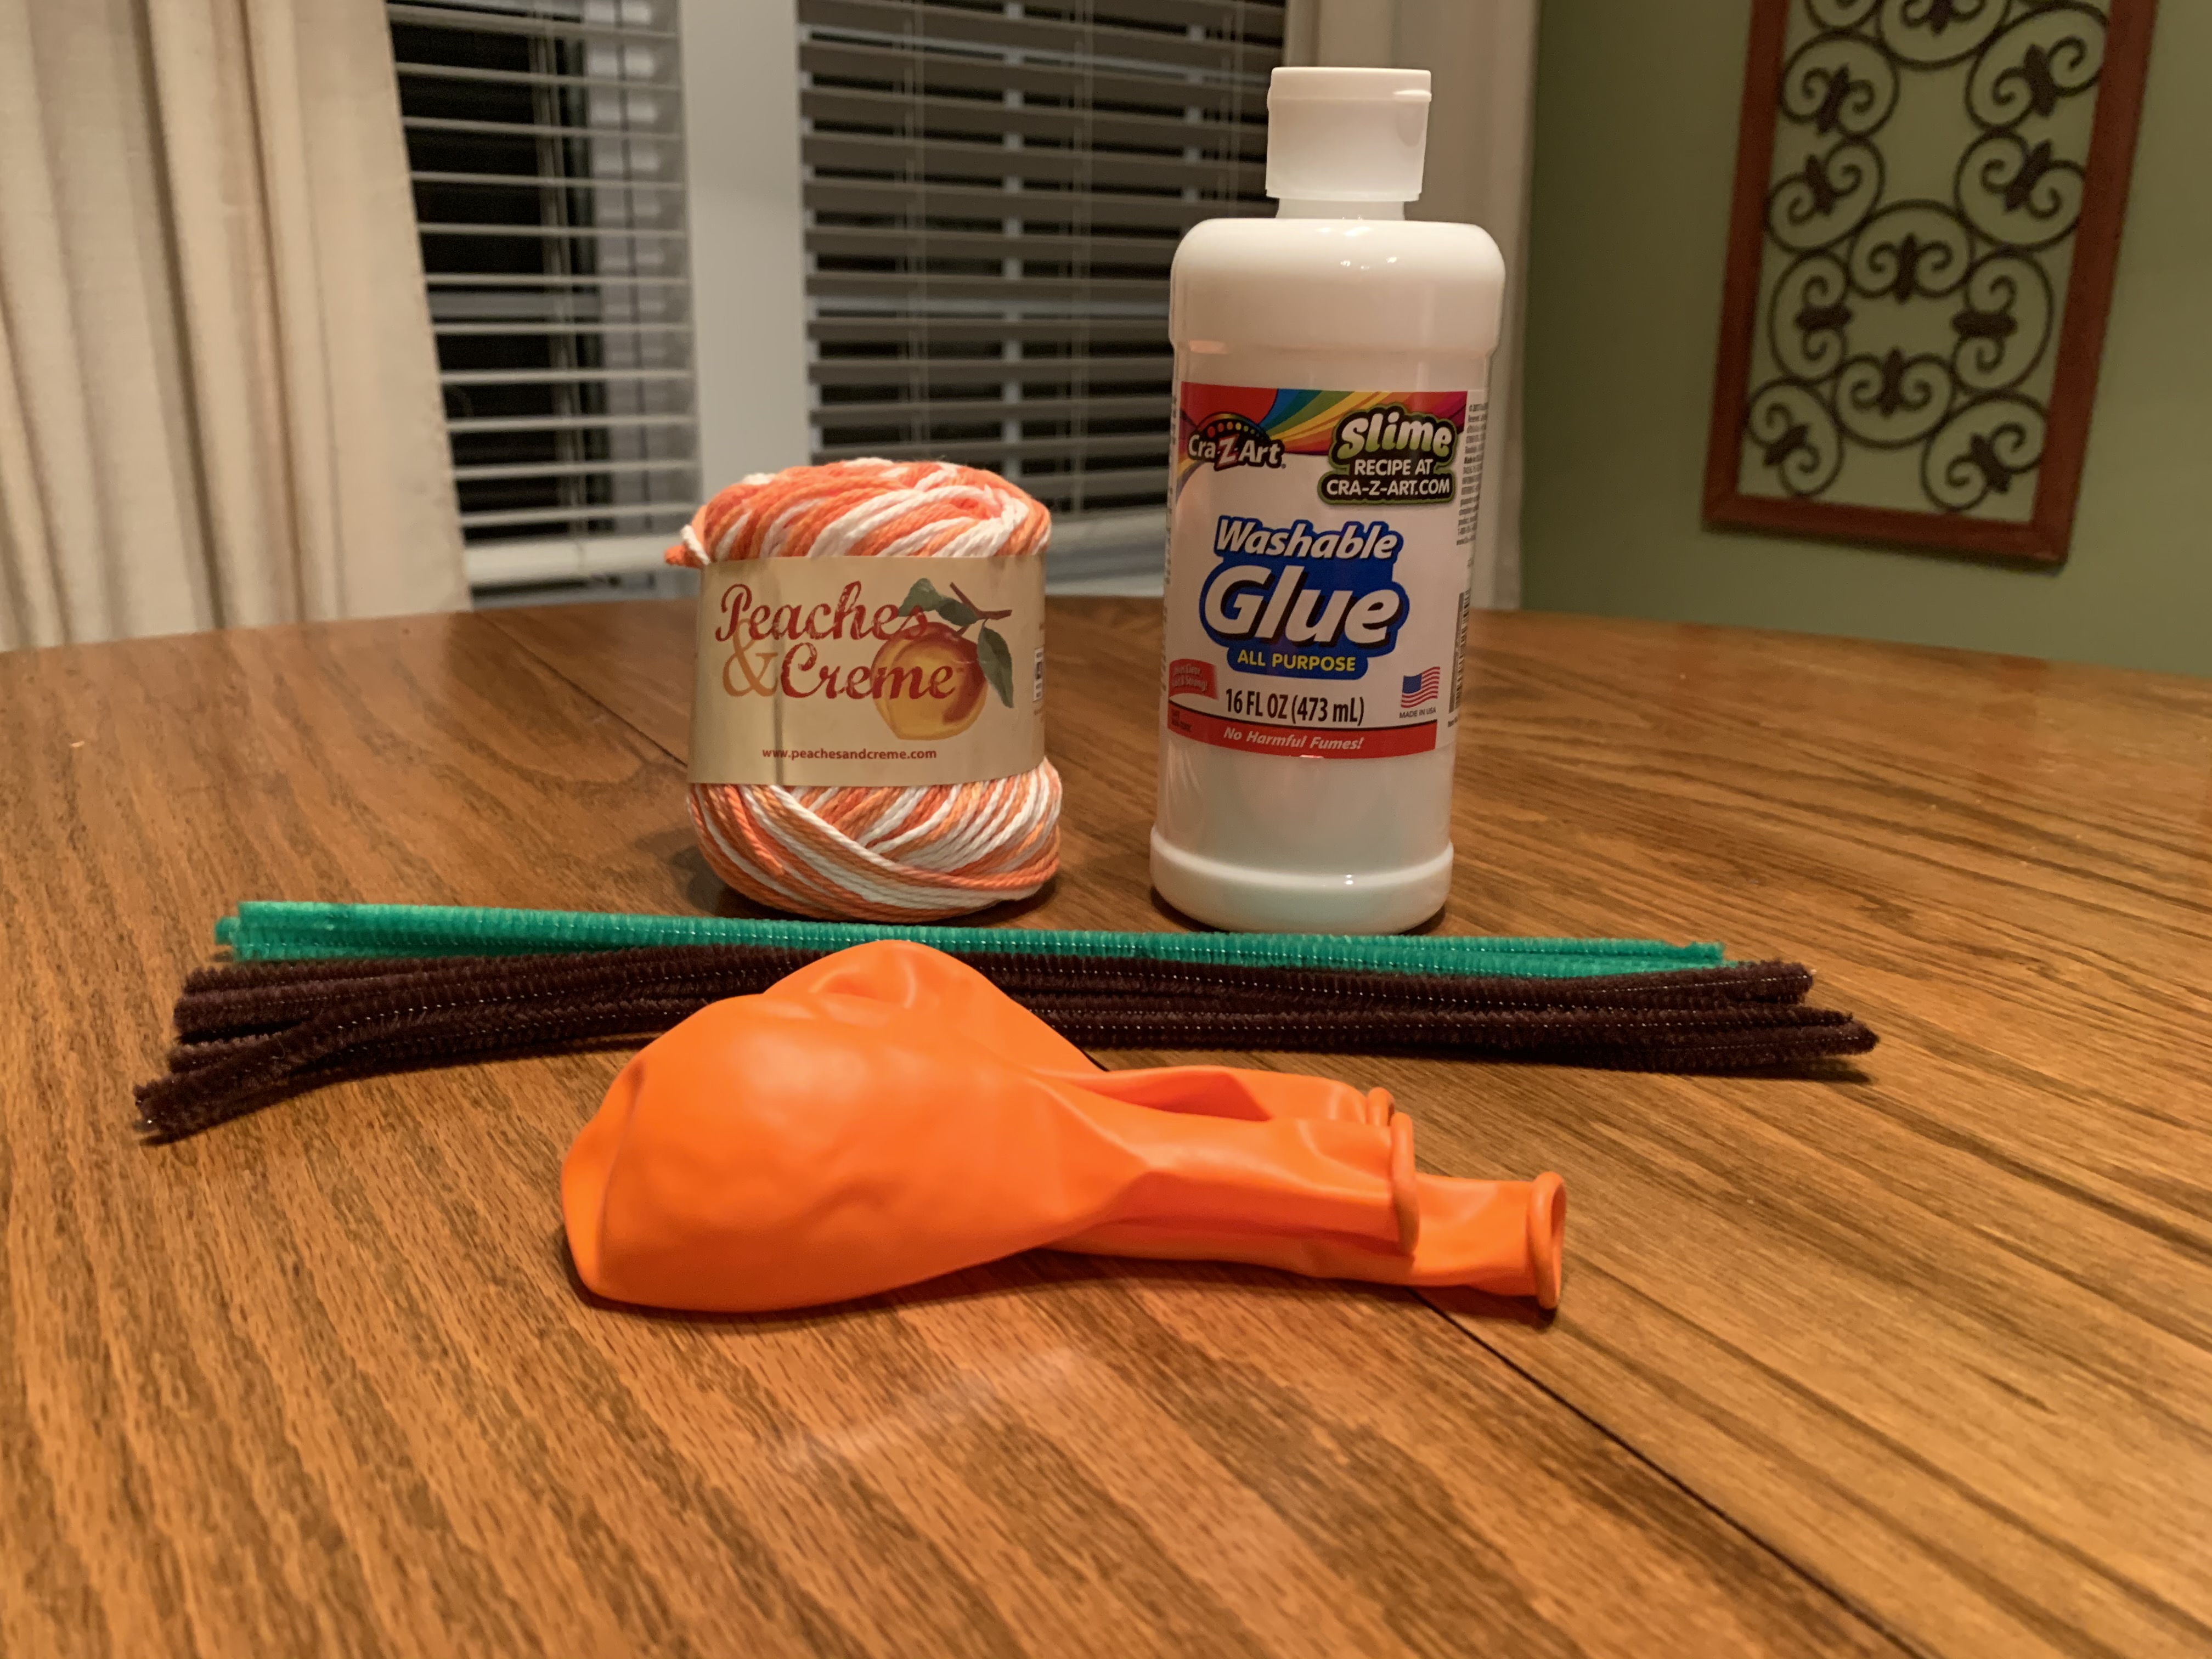
Balloon
Cotton Yarn (dries stiffer than the acrylic yarn or poly blends)
1 Bottle of Traditional White Glue
Scissors
Plastic Fork
2 Green Pipe Cleaners
1 Brown Pipe Cleaner
Prep Work:
-Start the project by cutting the yarn into 36 inch pieces. (any longer and the string will get tangled)
-Blow up a single balloon to a medium size. (if the balloon is too large, it will become egg shaped.)
-Pour the entire bottle of glue into a bowl.

Making the Pumpkin:
-Tie your balloon to a piece of yarn and hang it from spot in your home that is easiest for you to work.
-Dip the yarn in the glue (one piece at a time) and then run the yarn through the plastic fork to remove excess glue.
-Wrap the yarn around the balloon.
-Repeat this process until the balloon is mostly covered making sure you are wrapping both horizontally and vertically.
-Allow the yarn to dry for 24 hours.
-To remove the yarn from the balloon, separate the balloon from the yarn by gently pushing the balloon until it releases from the yarn.
-Once all yarn is released from the balloon, carefully cut a hole in the balloon.
-Once the balloon is deflated, completely remove it from the yarn.
-Add a stem and leaves to your pumpkin by using a brown and green pipe cleaner.